
On November 5, 2011 the first swap was held. Each mom brought 16 identical versions of a toddler activity, to share with the other moms, and went home with a grocery sack full of 16 different toddler activities. We are planning another swap for spring 2012. If you're interested in participating, fill out the form on the Swap With Us page.
Activities included in this swap were:
- Rolling Felt Board
- Pushing Puff Balls
- Matching Color Shades
- Pony Beads and Pipe Cleaners
- Tangrams
- Measure It
- Counting Plates
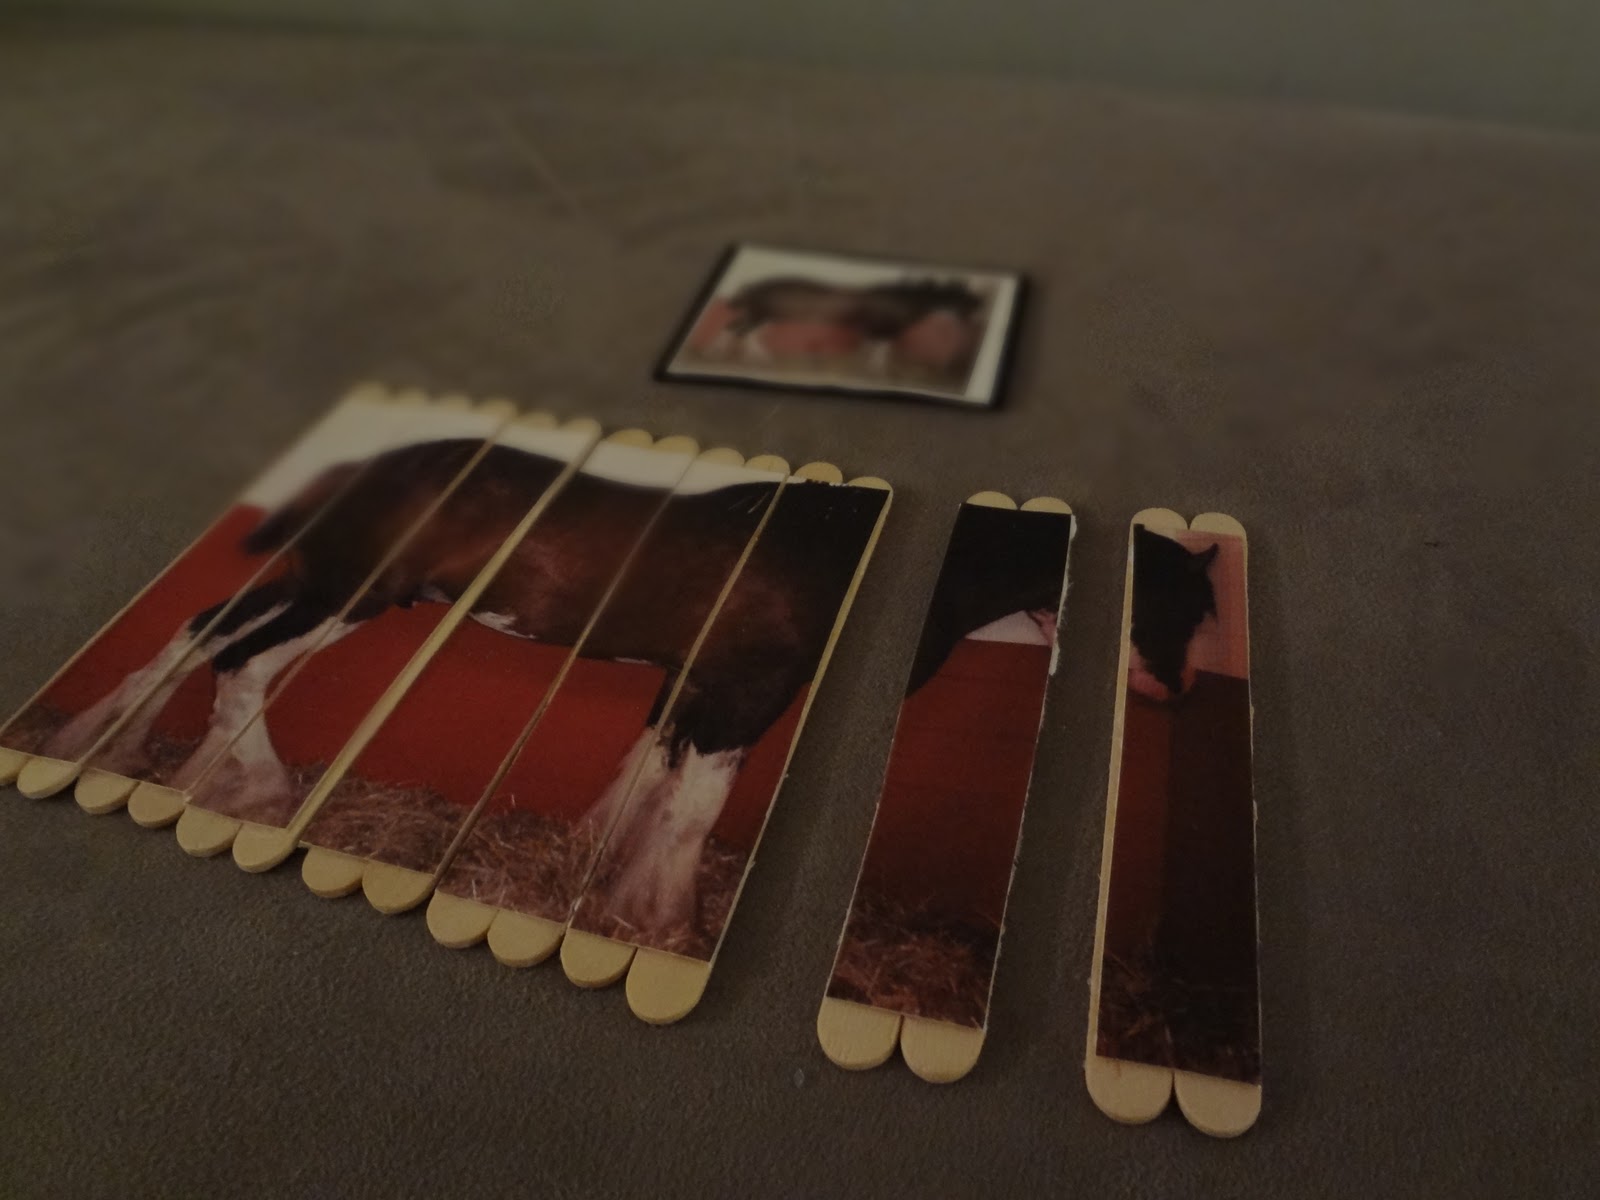
- Popsicle Stick Puzzle
- Counting Corn Number boards
- Button Snake
- Stringing and Sorting Colored Pasta
- Designing a Sandscape
- ABC Puzzles
- Lacing Shapes
- Can You Remember?
- Double Trouble Shape Match


